Property Photos – Why they are Important
Providing current photographs of your property can assist in the claims process, potentially leading to more efficient handling. While we cannot guarantee specific outcomes, these photos can offer valuable documentation to support your claim and help us better understand your property’s condition. They may also aid in policy underwriting and risk assessment. Maintaining up-to-date records is a helpful practice for any property owner.
Picture-taking Tips
Jump to: Submitting your Photos
Exterior Photos:
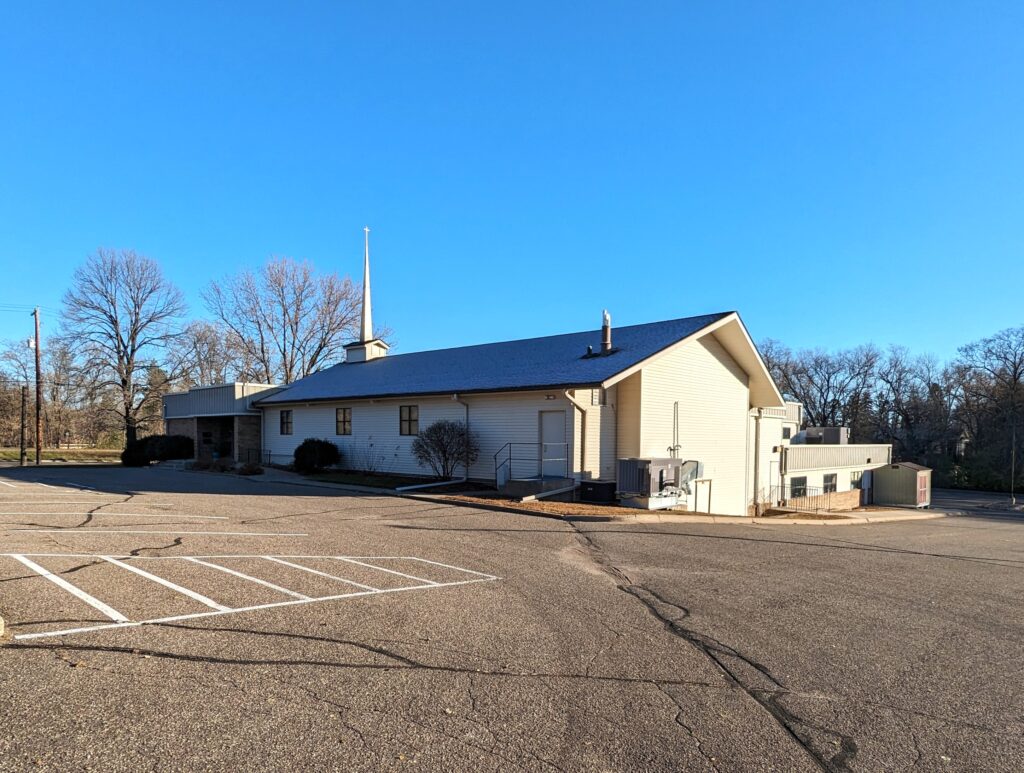
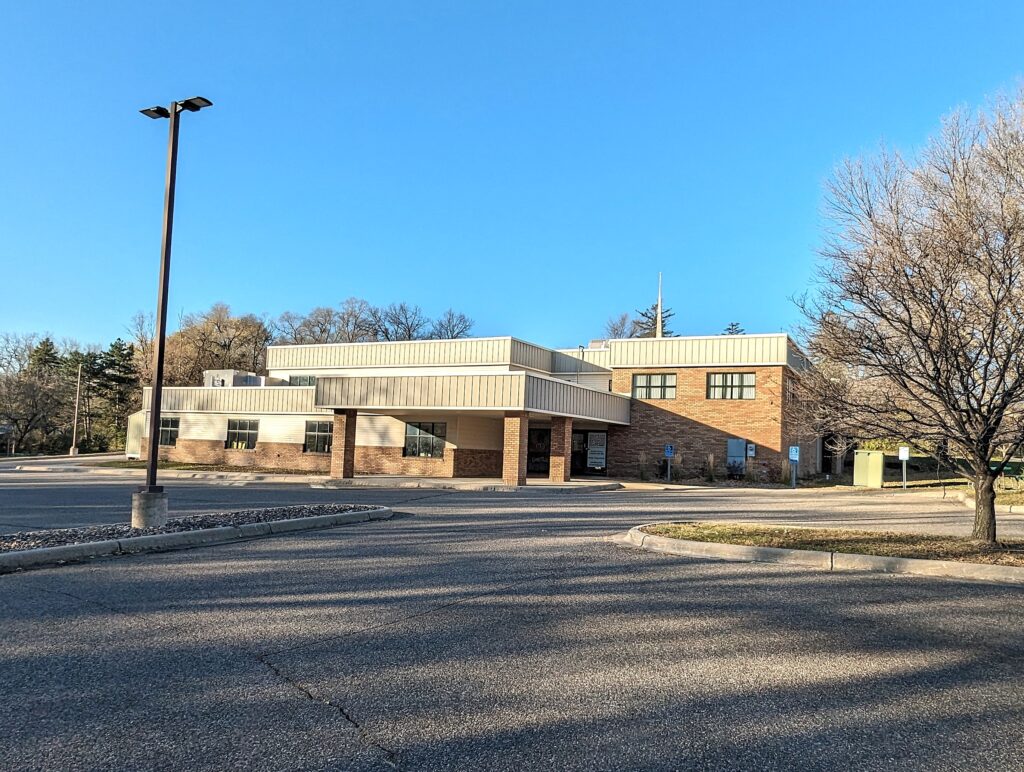
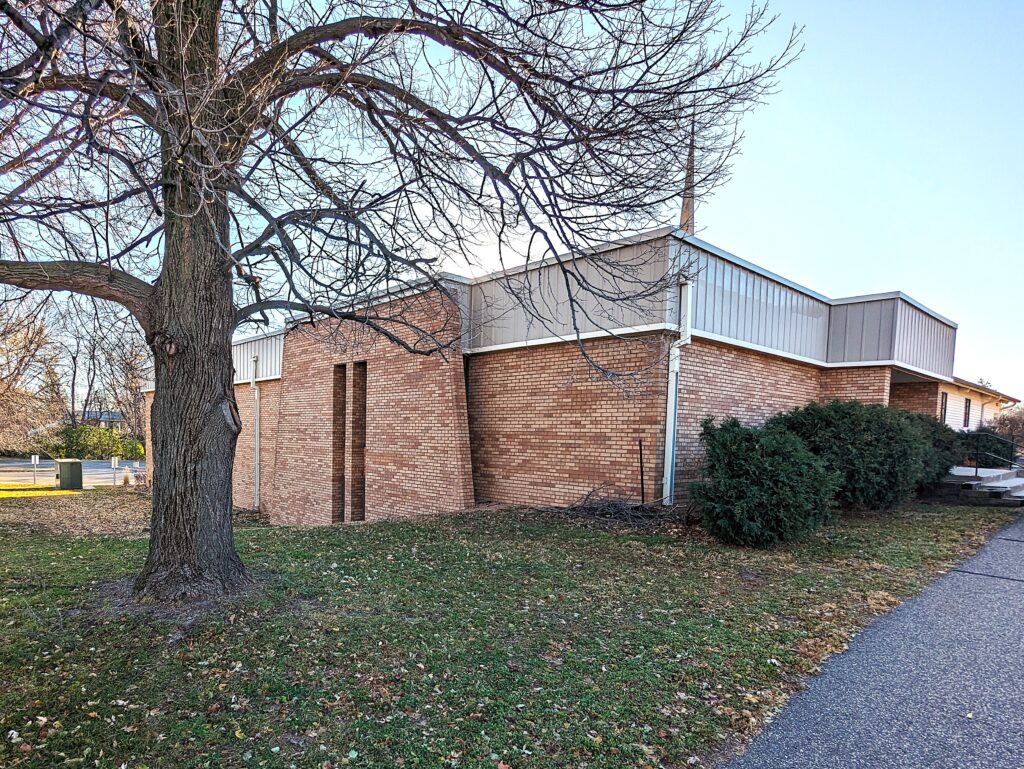
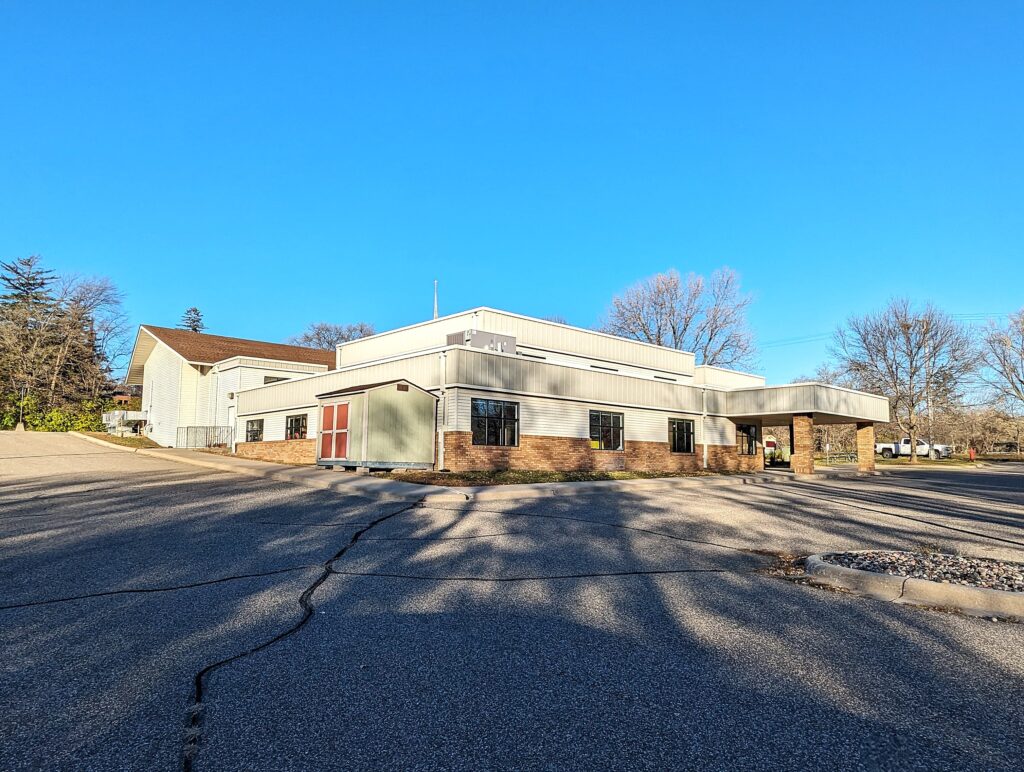
- Stand at each corner of the exterior of the building so you can see two sides of the building (corner shots).
- Try to get the whole building into the picture, plus a little of the ground and sky beyond.
- Photos should include clear shots of the roof, when possible, as well as the ground around the building.
- Pictures should be taken of all buildings of the church, including parsonages, garages, sheds and residential dwellings.
- Also please include any important exterior buildings, items or features like
- garages, sheds, playgrounds, signs, monuments, etc.
Please limit picture file sizes to under 5MB each. Standard smartphone quality is sufficient. High-definition pictures aren’t required.
Example pictures from all 4 corners
Interior Photos to include:
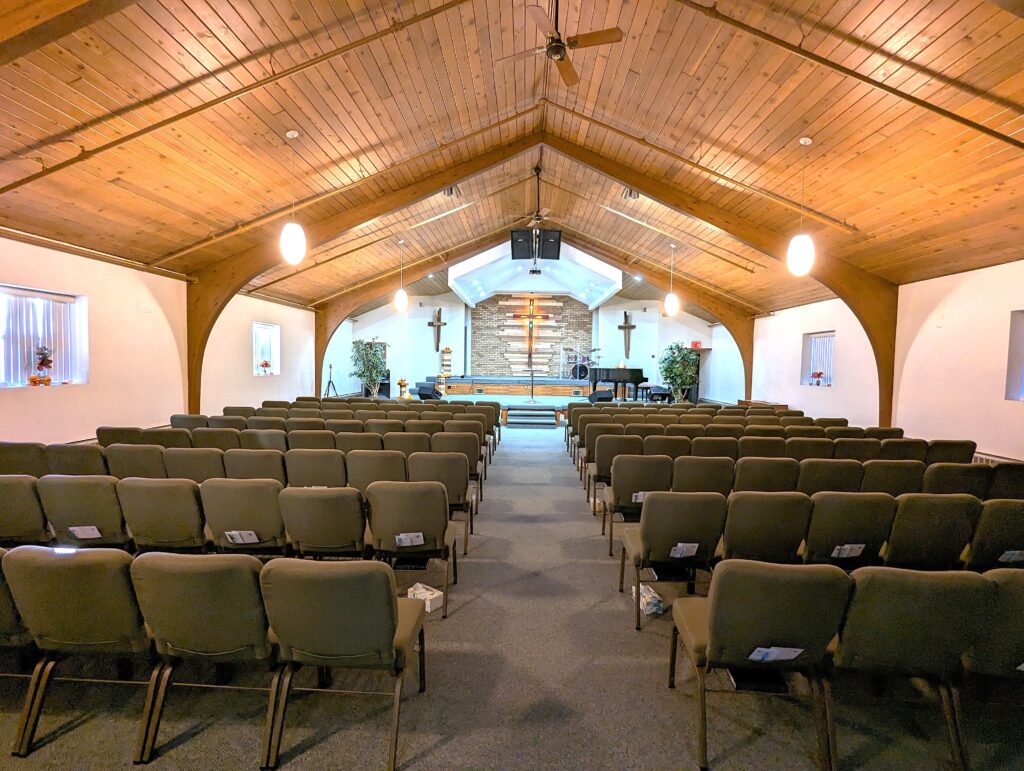
- Sanctuary: A few pictures – include any stained glass
- Larger rooms on each level including classrooms and fellowship halls
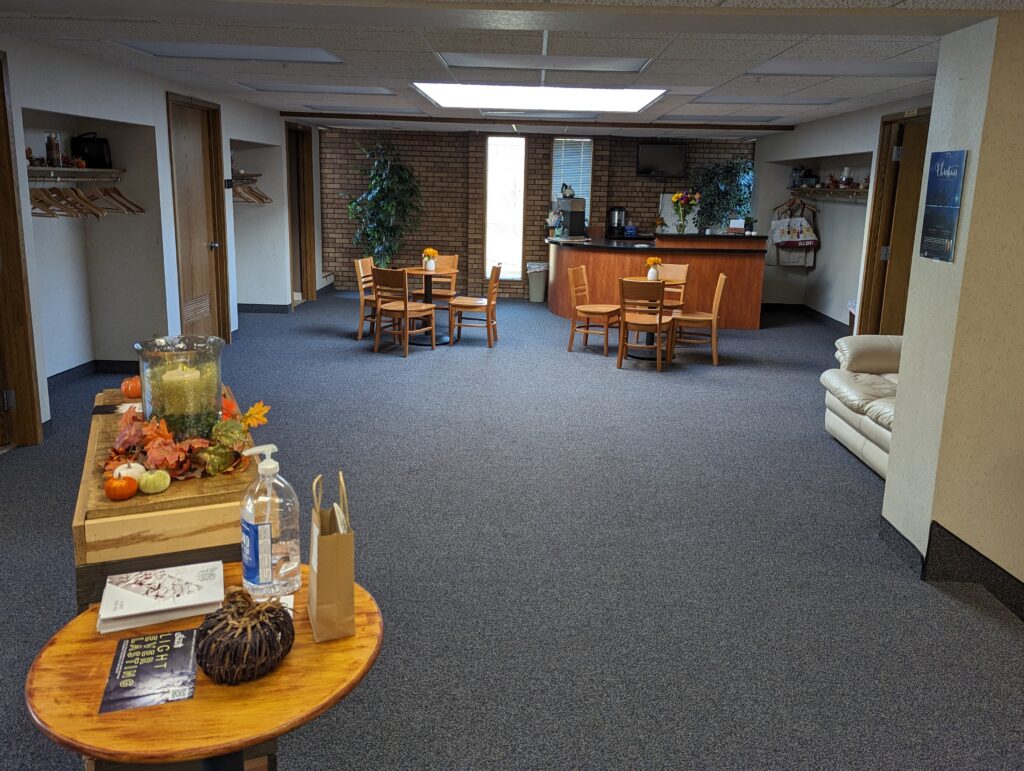
- Narthex/Foyer/Lobby
- Gymnasiums
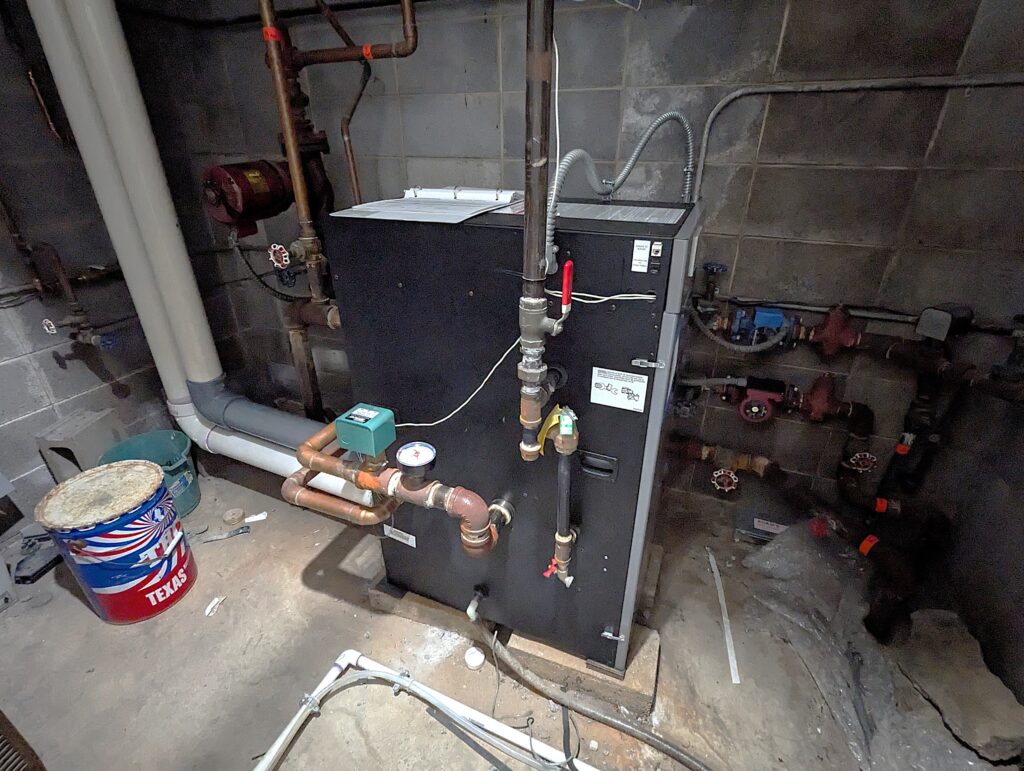
- Utility and Mechanical Rooms (hvac, sprinkler system, alarm)
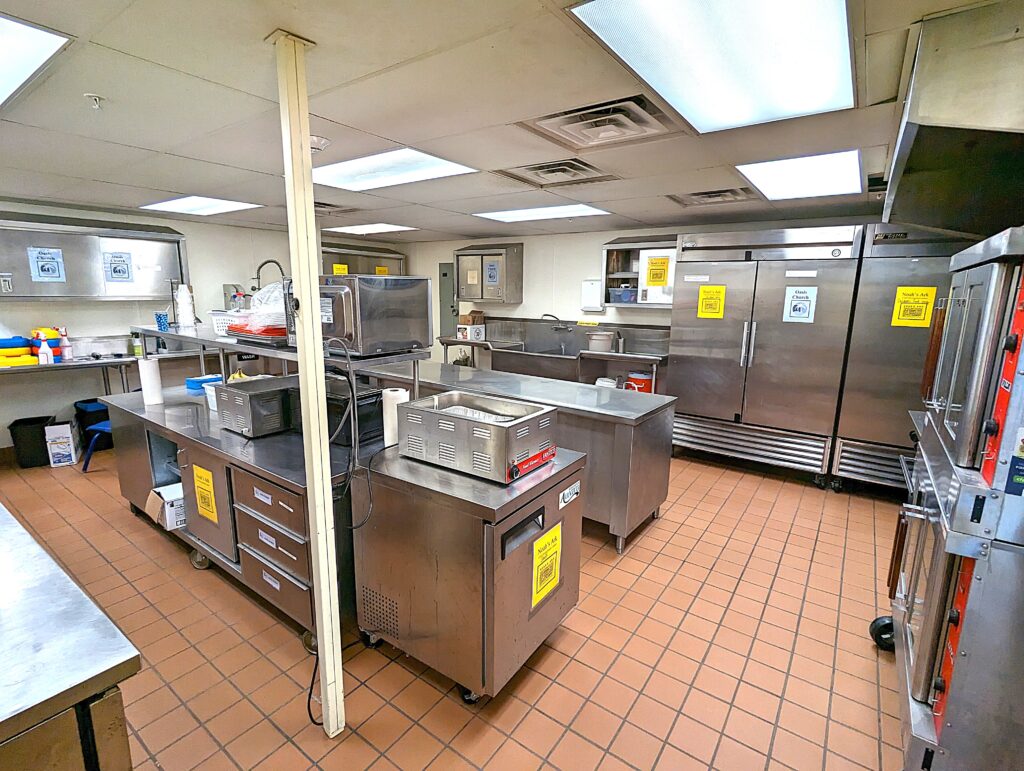
- Kitchens
It is NOT necessary to include interior pictures of
- Parsonages
- Rental dwellings
- Garages
- Sheds
Interior Pictures – Examples
Submitting your Pictures
If we contact you to request updated property pictures, you will receive an email from our ‘Registered Email’ system. Here are the steps to follow to submit your pictures:
STEP 1
Open the picture request email. Just below the red “Registered Email” ribbon at the top, click the link that says: “To reply to this email encrypted… click here.”

STEP 2
A secure portal will open in your web browser. Enter the email address where you received the request, then click “Continue.”
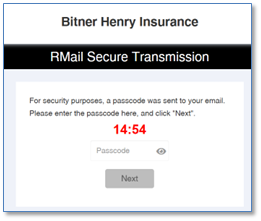
Check your email for a verification code, named “Passcode”. This may take 5–10 minutes to arrive. Once received, enter the code in the portal and click “Next.”
STEP 3
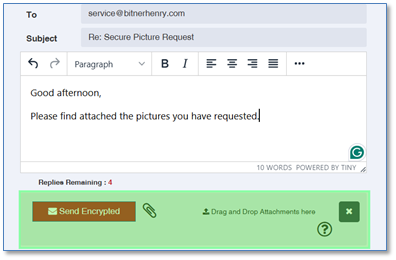
Drag and drop your pictures into the Attachment section below the message box. You may attach up to 1GB of photos. If you exceed the limit, please request a second email from your agent.
Once all files are attached, click “Send Encrypted” to complete the process.
